Free stencil maker › How to make a stencil from a photo
How to Make a Stencil from a Photo
Three ways to turn a photo into a stencil, from one click to completely by hand, and how to tell which kind of stencil you need. The free tool is right here, so you can follow along.
- Free & unlimited
- No sign-up
- No watermark
- Nothing uploaded
or drag & drop it here, or paste with Ctrl+V
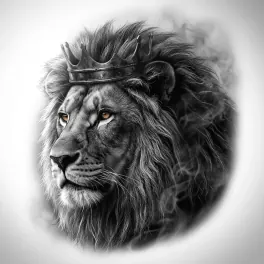
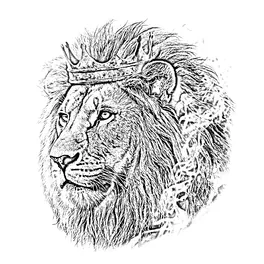
More options
Saved! For portraits, fur and shading, Stencil AI turns the same photo into clean linework and hatching.
Too sketchy? Stencil AI redraws the same photo as clean, tattoo-ready lines.
🔒 Runs in your browser. Your photo is never uploaded.
First: a line stencil or a cut-out stencil?
A line stencil is a tracing guide: outlines and shadow edges you copy onto canvas, a wall, wood or fabric. It’s what you want for painting, wood burning, embroidery and drawing. In the tool, that’s Lines.
A cut-out stencil is a sheet with holes: paint or light goes through the cut parts. It’s what you want for spray paint, pumpkins, signs and screen printing. In the tool, that’s Solid (cut-out).
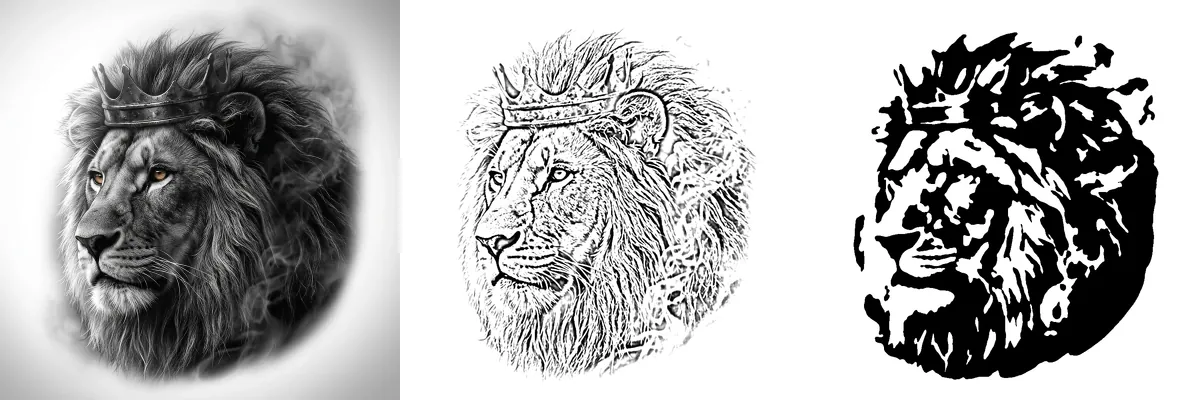
Method 1: The free one-click way
Upload the photo
Use the tool at the top of this page, or drag in or paste an image.
Choose the style
Lines for a tracing guide, Solid for a cut-out stencil.
Adjust Detail
Low for clean, simple shapes; higher for shading and fine detail.
Download or print
Save the full-resolution PNG or print it straight away.
Method 2: Photoshop, GIMP or Procreate
For a line stencil: desaturate the photo, duplicate the layer, invert the copy, set it to Color Dodge and add a Gaussian Blur. For a cut-out stencil: blur the photo slightly, then apply Threshold.
Step-by-step guides with exact menus: how to make a stencil in Photoshop and the Procreate stencil method. The tool above runs the same two techniques, one slider each.
Method 3: By hand
Print the photo, tape tracing paper or acetate over it and trace the main outlines and shadow edges. A window or a lightbox makes it easier. For walls and murals, project the image and trace it directly, or use the grid method: draw a grid over the photo and a larger matching grid on the wall, then copy square by square.
Getting the stencil onto your surface
- Tape and trace: tape the printout over graphite or transfer paper and trace the lines.
- Pouncing: prick holes along the lines and dab chalk or charcoal through them. The classic method for walls, pumpkins and murals.
- Cut and spray: for cut-out stencils, fix the sheet with low-tack tape or spray adhesive and paint in light coats.
- Iron-on: freezer paper stencils stick to fabric with a warm iron.
Frequently asked questions
Can I make a stencil from a photo without Photoshop?
Yes. The tool on this page does it in your browser with one slider: no software, no account and no upload.
How do I make a stencil from a picture on my phone?
Open this page in your phone’s browser, take or pick a photo, choose Lines or Solid, then save or print the stencil.
How do I make a stencil without a Cricut?
Make a Solid stencil, print it, glue the print onto cardstock or Mylar and cut out the black areas with a sharp craft knife on a cutting mat.
What photo makes the best stencil?
One with strong light and shadow, a sharp subject and a plain background. Crop away everything you don’t want in the stencil.
How do I make a stencil bigger?
Download the full-resolution PNG and print it larger at a print shop, or scale it up by hand with the grid method.
What’s the difference between a stencil and a template?
A template is a guide you draw or cut around; a stencil has openings you paint or carve through. For tracing, people use both words for the same thing.