Free stencil maker › Procreate stencil method
How to Make a Stencil in Procreate
The classic Procreate photo-to-stencil hack is a Gaussian Blur and a Divide blend mode. Every step is below, or skip the layers and do the same thing with one slider right here.
Skip to the Procreate steps ↓- Free & unlimited
- No sign-up
- No watermark
- Nothing uploaded
or drag & drop it here, or paste with Ctrl+V
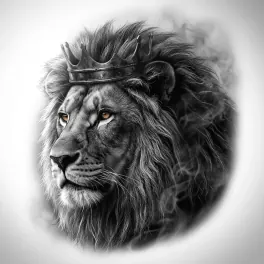
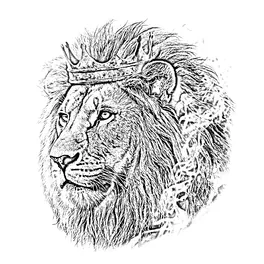
More options
Saved! For portraits, fur and shading, Stencil AI turns the same photo into clean linework and hatching.
Too sketchy? Stencil AI redraws the same photo as clean, tattoo-ready lines.
🔒 Runs in your browser. Your photo is never uploaded.
The Procreate stencil method, step by step
Import your photo
Open a new canvas, tap Actions (wrench) → Add → Insert a photo, and scale it to fill the canvas.
Remove the color
Tap Adjustments (magic wand) → Hue, Saturation, Brightness and drag Saturation all the way down.
Duplicate the layer
In the Layers panel, swipe left on the photo layer and tap Duplicate. From now on, work on the top copy.
Set the top copy to Divide
Tap the N on the top layer and choose Divide. The canvas turns white for now; that’s expected.
Blur the top copy
Tap Adjustments → Gaussian Blur → Layer and slide your finger across the screen. Around 4–6% is a good start: less gives thinner lines, more gives more shading.
Merge and darken
Pinch the two layers together to merge them, then open Adjustments → Curves and pull the curve down until the lines are dark enough to print.
Clean up and trace
Erase the background and stray marks. For a crisp stencil, add a new layer on top and trace the lines you want with a thin brush.
Export it
Tap Actions → Share → PNG to save the stencil, then print it or send it to your thermal printer.
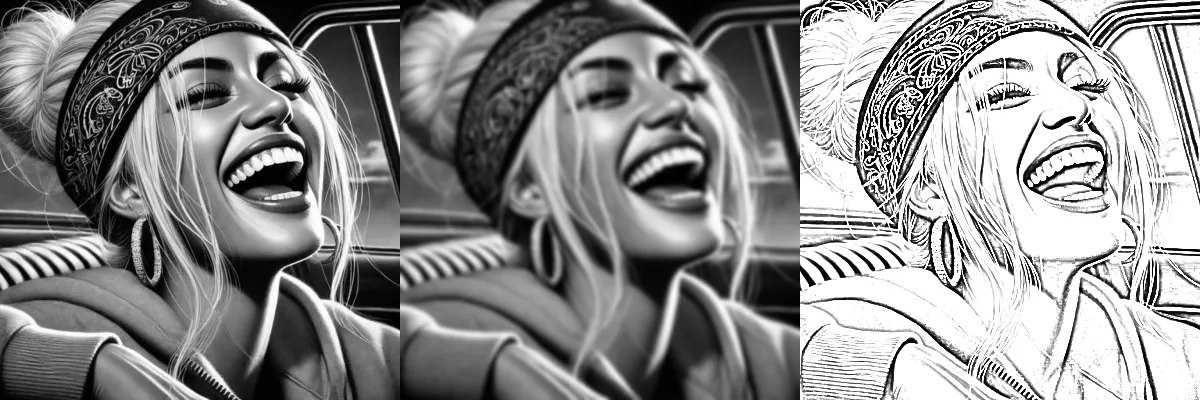
Why Gaussian Blur + Divide works
Divide compares each pixel with its blurred neighbourhood. Where the photo is flat, a pixel and its blurred version are almost the same, so the result is white. Along an edge or in a crease, the pixel is darker than the blurred average around it, so it stays dark. What’s left is a drawing of the edges.
The blur amount decides what counts as an edge. A small blur reacts only to sharp transitions, giving fine outlines. A large blur also reacts to broad shadows, giving more shading. That’s exactly what the Detail slider in the tool above controls.
Divide or Color Dodge?
- Divide with a blurred copy and Color Dodge with an inverted blurred copy give the same image. The maths is identical.
- Divide saves a step, because you don’t have to invert the layer (layer menu → Invert).
- Color Dodge is what many older Photoshop tutorials use, which is why you’ll see both versions of the hack.
Fixing common problems
- Lines too faint: pull Curves down on the merged layer, or duplicate the merged layer and set the copy to Multiply.
- Speckles and noise: use less Gaussian Blur, or blur the original very slightly (1–2%) before you duplicate it.
- Too much shading: lower the blur. Around 2–4% gives mostly outlines.
- The background turns into lines: crop or erase it first. The hack traces everything in the frame.
The one-slider version
The tool at the top of this page runs the same steps on your device: desaturate, blur, divide, curves. Detail is the Gaussian Blur amount and Darkness is the curve. Make the stencil there, download the PNG, and import it into Procreate with Actions → Add → Insert a photo to trace over it.
When the Procreate hack isn’t enough
Blur + Divide is a filter: it traces skin texture and noise as faithfully as the edges you want. For portraits and realism, Stencil AI redraws the photo as clean outlines and hatching, and you can still finish it in Procreate.
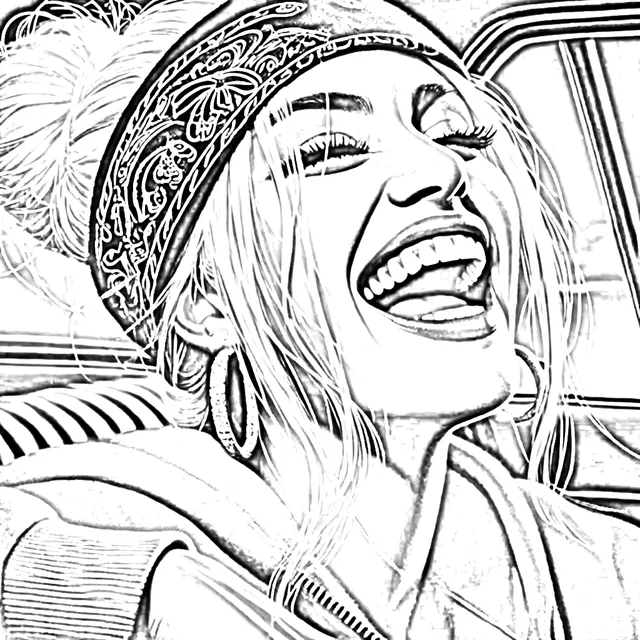
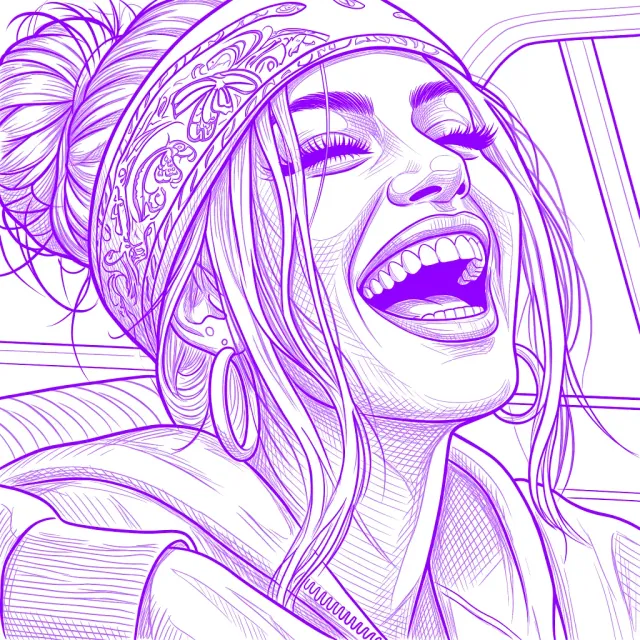
- Clean, closed outlines instead of sketchy edges
- Shadows turned into printable hatching
- Print at exact size, warp to the body, retouch
- On iPhone, iPad, Android and the web
Made by the same team. This tool stays free.
Frequently asked questions
Does Procreate have a stencil filter?
There’s no one-tap stencil filter, but a Gaussian Blur plus the Divide blend mode does the job in about a minute. The steps are above.
What Gaussian Blur percentage should I use?
Start around 4–6%. Go lower (2–3%) for thin outlines and higher (8–12%) for more shading. Large canvases need a little more blur for the same look.
Should I use Divide or Color Dodge?
Either one. Divide with a blurred copy equals Color Dodge with an inverted blurred copy. Divide is one step shorter.
How do I make the lines darker in Procreate?
Merge the layers and pull the Curves down, or duplicate the merged layer and set the copy to Multiply. Add another Multiply copy for even darker lines.
Can I make a tattoo stencil this way?
Yes. Treat the result as a tracing guide: trace the lines you want on a new layer, export it, and print it on a thermal printer. For tattoo-specific settings, see the free tattoo stencil maker.
Can I do this without Procreate or an iPad?
Yes. The tool on this page runs the same technique in any browser, on any phone or computer, for free.