Free stencil maker › Pumpkin carving stencil
Pumpkin Carving Stencil Maker
Turn a photo of your dog, your kids or any favorite face into a pumpkin carving pattern. Black shows what to cut out, white what to keep. Free, no sign-up, and nothing is uploaded.
- Free & unlimited
- No sign-up
- No watermark
- Nothing uploaded
or drag & drop it here, or paste with Ctrl+V
More options
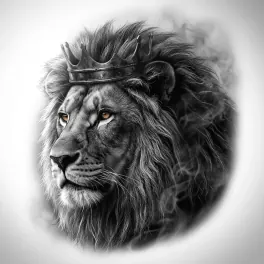
Saved! For portraits, fur and shading, Stencil AI turns the same photo into clean linework and hatching.
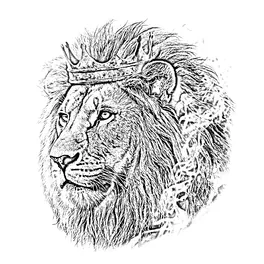
Too sketchy? Stencil AI redraws the same photo as clean, tattoo-ready lines.
🔒 Runs in your browser. Your photo is never uploaded.
How to make a pumpkin stencil from a photo
Pick a photo with strong light
A face or pet photo lit from one side gives the clearest shapes. Crop it to the head: background details are too small to carve.
Simplify it in Solid mode
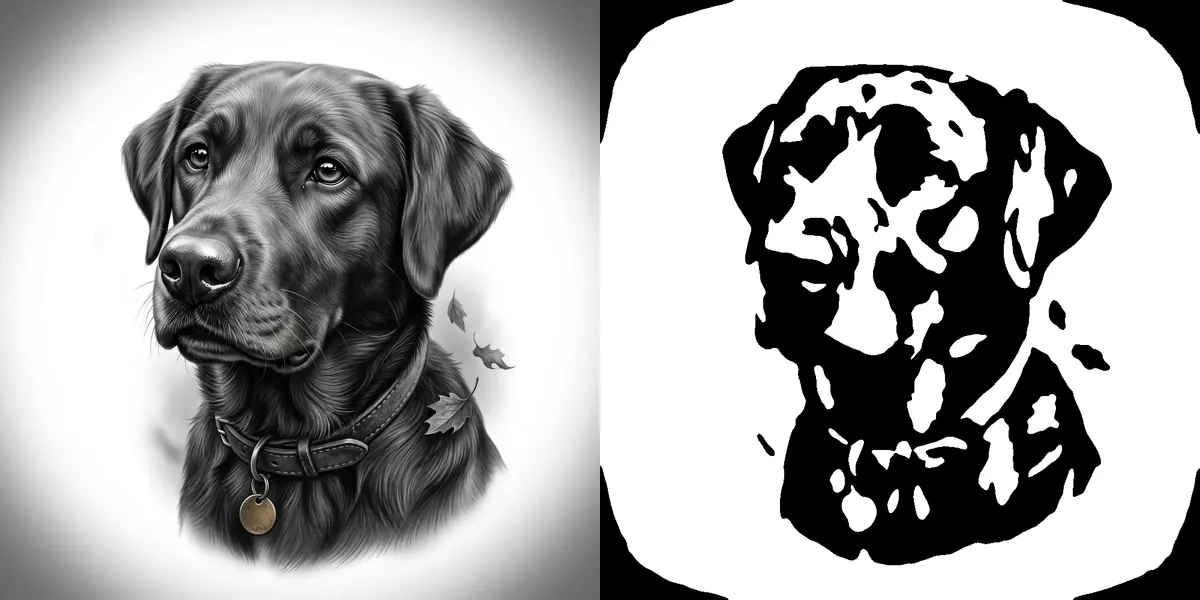
Solid (cut-out) turns the photo into black and white shapes. Keep Detail low: big, simple shapes carve cleanly, tiny ones crumble. Raise or lower Darkness until the eyes, nose and mouth read clearly.
Check for floating pieces
If the tool warns about floating pieces, some uncarved skin would end up surrounded by holes and fall out. Lower Detail, or plan a thin bridge of skin to hold each piece.
Print, transfer and carve
Press Print, tape the paper to the pumpkin and poke along every edge with a pin or poker tool every few millimetres. Peel the paper off and carve along the dots, cutting out the black areas.
Glowing face or classic jack-o’-lantern?
With the default settings, the dark parts of the photo (eyes, shadows, fur) are black, so they become the carved holes that glow. That gives a bold, graphic jack-o’-lantern look and works best for pets and simple faces.
For a pumpkin that looks like the photo when it’s lit, open More options and turn on Invert. The bright parts of the photo then become the cut-outs, so cheeks, foreheads and highlights glow while the shadows stay dark.
Three-tone pumpkins: cut, shave and keep
Pro carvers use three tones instead of two: cut all the way through for the brightest parts, shave away only the skin for a softer glow, and leave the rest untouched. You can make both layers here.
Make one stencil with low Darkness (only the deepest areas turn black) for the parts you cut through, then a second with higher Darkness for the parts you shave. Transfer both, cut the first, then scrape the extra areas from the second with a clay loop or a lino tool.
Tips for a stencil that survives carving
- Keep shapes thick. Anything thinner than a pencil tends to snap once the pumpkin starts to dry.
- Connect every uncarved piece to the rest of the pumpkin wall, or it will fall in.
- Carve from the centre outwards and the small details first, while the pumpkin is still firm.
- Choose a smooth, light-coloured pumpkin with a flat face. A craft foam pumpkin lasts all season.
- Rub petroleum jelly on cut edges to slow drying and shrinking.
- Pets work great. Use a front-facing photo where both eyes are visible.
Frequently asked questions
Can I turn my own photo into a pumpkin stencil for free?
Yes. Upload the photo, switch to Solid mode, adjust Detail and Darkness, then print. There’s no sign-up, no watermark and no limit, and the photo never leaves your device.
Which parts do I cut out?
Cut out the black areas: light shines through them. If you want the carved pumpkin to look like the photo when lit, turn on Invert first so the bright parts become the cut-outs.
What is a floating piece?
A piece of pumpkin skin you keep that ends up completely surrounded by carved-out areas. Nothing holds it, so it falls in. Either simplify the stencil or leave a thin bridge of skin connecting it to the rest.
How do I transfer the stencil onto the pumpkin?
Tape the printout to the pumpkin and poke small holes along every edge with a pin or poker tool, then carve along the dots. On a foam pumpkin you can trace over carbon or graphite paper instead.
What size should I print it?
Print fills one page, which suits most carving pumpkins. For a small pumpkin, scale it down in your print dialog; for a giant one, take the PNG to a print shop.
Does it work on my phone?
Yes. It runs in any modern phone browser. Take or pick a photo, make the stencil and print or save it.