Free stencil maker › Wood burning stencil
Wood Burning Stencil Maker
Turn a photo into a pyrography pattern: clean outlines for your pen, plus a light guide for the shading. Mirror it for heat transfer. Free, no sign-up, and nothing is uploaded.
- Free & unlimited
- No sign-up
- No watermark
- Nothing uploaded
or drag & drop it here, or paste with Ctrl+V
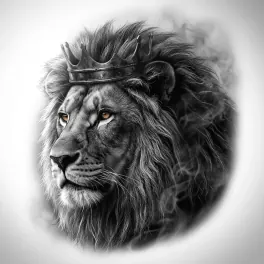
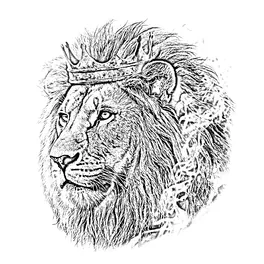
More options
Saved! For portraits, fur and shading, Stencil AI turns the same photo into clean linework and hatching.
Too sketchy? Stencil AI redraws the same photo as clean, tattoo-ready lines.
🔒 Runs in your browser. Your photo is never uploaded.
How to make a wood burning stencil from a photo
Upload a clear photo
Pets, portraits, animals and landscapes all work. Crop it to the part you’ll burn.
Set the lines
Keep Detail low for a clean outline you’ll burn with a writing tip, or raise it to see where the shading goes.
Mirror it for heat transfer
Toner and heat transfers flip the image. Turn on Mirror in More options before printing so the pattern reads the right way on the wood.
Print and transfer
Print the pattern, then transfer it with graphite paper, a pencil rub or a toner heat transfer, as described below.
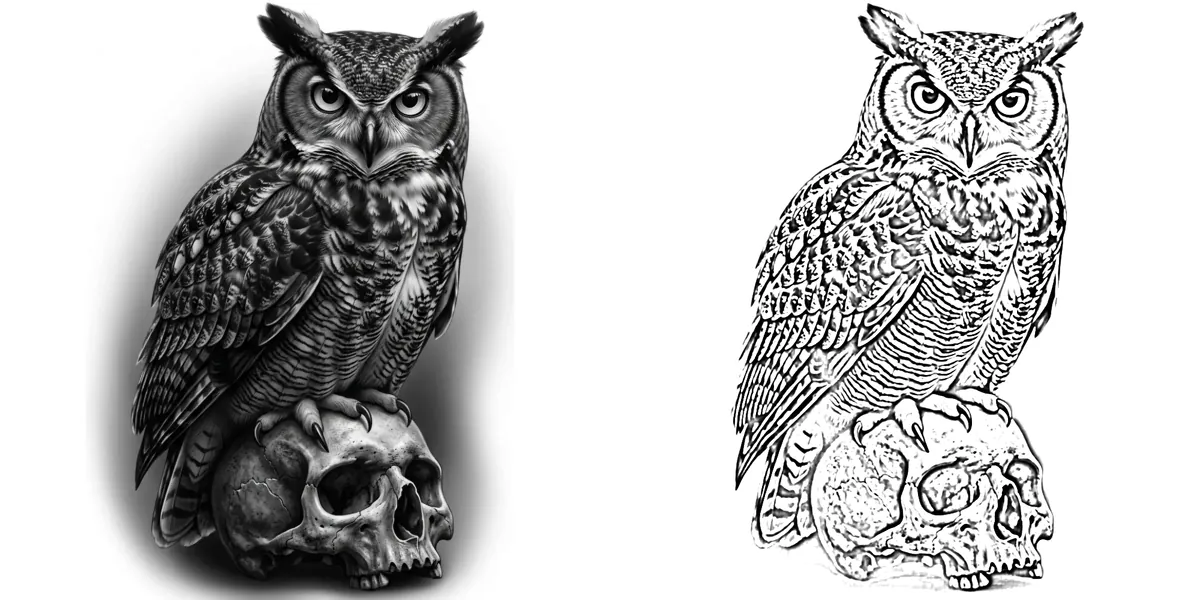
Three ways to transfer a pattern to wood
Graphite transfer paper: put it under the printout, graphite side down, and trace the lines with a ballpoint. Graphite erases easily; avoid waxy carbon paper, which smudges and can smoke under the pen.
Pencil rub: shade the back of the printout with a soft pencil (2B or softer), tape it to the wood and trace the lines. Cheap and clean, and it doesn’t need mirroring.
Toner heat transfer: print the mirrored pattern on a laser printer (inkjet ink won’t transfer), place it face down on the wood and press it with a transfer tip or a hot iron. The toner sticks to the wood with no tracing at all.
Tips for burning from a pattern
- Sand the wood to about 220 grit so the pen glides and the burn is even.
- Basswood, birch plywood and poplar are light and even-grained: the easiest woods to start on.
- Burn the outlines first at a lower heat, then build the shading in light layers.
- Keep transfer lines faint and erase leftovers with a white eraser before the final shading.
- Test the heat on scrap from the same board first.
Frequently asked questions
Do I need to mirror the pattern?
Only for toner or heat transfers, which flip the image. Graphite paper and pencil rubbing keep it the right way round.
What kind of photo makes the best pyrography pattern?
A sharp photo with clear light and shadow and a simple background. Pets, animals and portraits work especially well.
Can I use an inkjet printer for heat transfer?
No. Heat transfer needs toner from a laser printer or a photocopier. With an inkjet, use graphite paper or the pencil rub instead.
How do I get the shading right?
Raise Detail to see where the main shadow shapes are, transfer only their edges lightly, and build the shading up slowly with a shading tip.
Is the wood burning stencil maker free?
Yes: unlimited patterns, no sign-up and no watermark. It runs in your browser, so the photo never leaves your device.