Free stencil maker › GIMP stencil method
How to Make a Stencil in GIMP
Two free GIMP methods with exact menu paths for GIMP 2.10 and 3.0: a line stencil with Divide and Gaussian Blur, and a cut-out stencil with Threshold. Or skip the layers and use the free tool right here.
- Free & unlimited
- No sign-up
- No watermark
- Nothing uploaded
or drag & drop it here, or paste with Ctrl+V
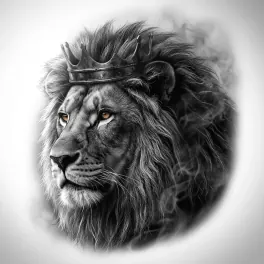
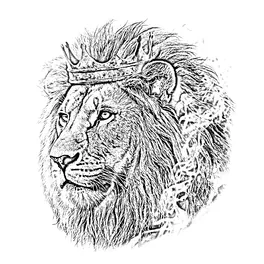
More options
Saved! For portraits, fur and shading, Stencil AI turns the same photo into clean linework and hatching.
Too sketchy? Stencil AI redraws the same photo as clean, tattoo-ready lines.
🔒 Runs in your browser. Your photo is never uploaded.
Method 1: Line stencil (Divide + Gaussian Blur)
Desaturate
Open the photo and choose Colors → Desaturate → Desaturate, with the mode set to Luminance.
Duplicate the layer
Choose Layer → Duplicate Layer (Shift+Ctrl+D). The next steps change the copy on top.
Blur the copy
Choose Filters → Blur → Gaussian Blur and set Size to about 2 to 6 for a 2000 px photo. More blur means more shading.
Set the copy to Divide
In the Layers dock, change the copy’s Mode to Divide. The image turns almost white with dark edges: that’s your line stencil.
Darken the lines
Choose Layer → New from Visible, then Colors → Levels, and drag the black input slider to the right until the lines are dark enough to trace.
Export
Choose File → Export As (Shift+Ctrl+E), give the file a .png name and print it.
Method 2: Cut-out stencil (Threshold)
Simplify first
Apply Filters → Blur → Median Blur (radius 2 to 4) or a light Gaussian Blur, so the shapes come out smooth instead of speckled.
Apply Threshold
Choose Colors → Threshold and drag the slider until the subject reads clearly in pure black and white.
Clean up and add bridges
Paint out stray specks with the Pencil tool, and draw thin white lines across the black wherever a white shape is completely surrounded, so it won’t fall out when you cut.
Export and cut
Export as PNG, print it and cut out the black areas.
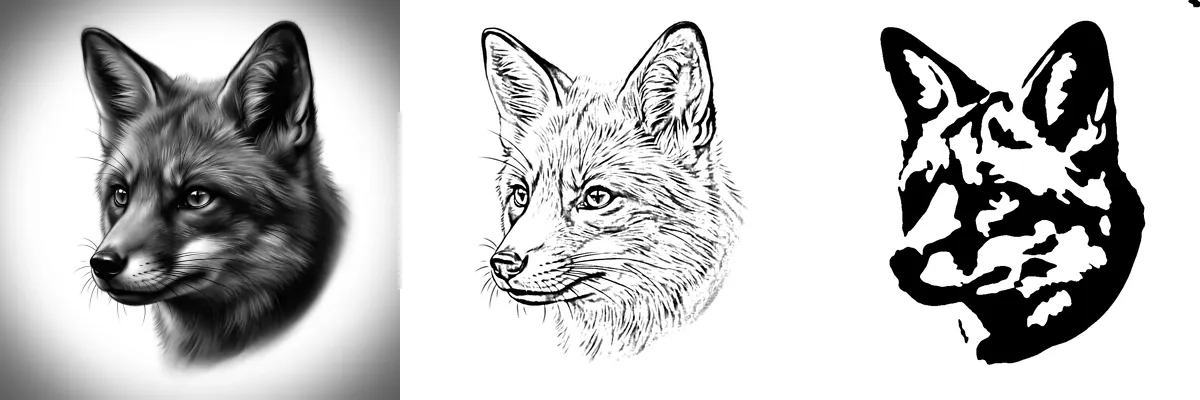
Turning a GIMP stencil into an SVG
A cutting machine needs a vector. In GIMP, choose Select → By Color and click a black area, then Select → To Path. In the Paths dock, right-click the new path and choose Export Path to save it as an SVG.
Quicker: switch the tool above to Solid (cut-out), tick Add bridges automatically and press Download SVG.
Fixing common problems
- Lines too faint: drag the black slider in Levels further to the right, or duplicate the result and set the copy to Multiply.
- Too noisy: use a smaller blur, or run Filters → Enhance → Noise Reduction on the photo first.
- Almost everything is white: that’s expected right after Divide. The Levels step brings the lines out; on a very soft photo, use a larger blur.
- Patchy Threshold result: blur a little more before applying Threshold.
- Busy background: select it with the Fuzzy Select tool and fill it with white before you start.
The one-slider shortcut
The tool at the top of this page runs both methods in your browser: Lines is Method 1, and Solid is Method 2 with automatic speck cleanup, automatic bridges and an SVG download. Detail is the blur and Darkness is the Levels step. Download the PNG and keep editing it in GIMP if you like. Using other software? See how to make a stencil in Photoshop or the Procreate stencil method.
Frequently asked questions
Does GIMP have a stencil filter?
Not one called that. Filters → Artistic → Photocopy and Filters → Artistic → Cartoon come close, but the Divide and Threshold methods above give cleaner stencils that are easier to control.
Divide or Dodge mode?
They give the same result. Dodge needs the blurred copy inverted first (Colors → Invert); Divide works on the blurred copy as it is.
Do these steps work in GIMP 3.0?
Yes. The menus are the same in GIMP 2.10 and 3.0. In 3.0, filters stay editable on the layer, so you can go back and change the blur later.
What Gaussian Blur size should I use?
It depends on the size of the photo. Around 2 to 6 for a 2000 px photo: smaller gives thin outlines, larger adds shading.
Is there GIMP for iPad or phones?
Not an official one. On a phone or a tablet, use the tool on this page: it runs the same method in the browser.